- Obtain Your Independent Practice License
- How to Register for an OHIP Billing Number
- Set up GO Secure, enrol in MC EDT & Add a Designee
- Register for Health Card Validation (HCV) services
1. Obtain Your Independent Practice License
If you’re a new physician (or new in Ontario), before you can apply for your OHIP billing number you need to make sure you have your Independent Practice License first. This license is a 5-digit number that registers you with the College of Physicians and Surgeons of Ontario (CPSO). Having this license is what authorizes you to engage in independent, unsupervised medical practice in Ontario. In order to apply, you need to request access from the CPSO. If you’ve completed your residency in Ontario then access will only be granted if it’s your last year of residency. Once access is granted you’ll receive an email that outlines the steps for the online application, which is done through physiciansapply. Once you finish your application on physiciansapply it will be sent electronically to the CPSO.Important Reminder:
CPSO applications are processed on a first come, first served basis, so to avoid delays we suggest applying as soon as you can. 2. Registration Steps for your OHIP Billing Number Once you have your CPSO number you need to register for an OHIP billing number. This is a unique 6-digit number that tells the Ministry of Health and Long-Term Care (MOHLTC) who and where the claims are coming from. It never changes and will stay with you throughout your career. It’s also the number that’s used to identify you as the referring physician. This step is absolutely necessary because you cannot submit claims for reimbursement without one.*Important Note:
In our experience, new physicians in Ontario usually think that their CPSO number is their OHIP billing number. These are two separate numbers. Although you can start working without an OHIP billing number, you cannot submit claims for reimbursement. This means you have 6 months from the time you start working to get your OHIP Billing number. After six months, if you still don’t have it, your claims will go stale; which means you won’t be paid for them! So, in reality, you should apply for this number immediately (you know, if you enjoy getting paid and all that).2. How to Register for Your OHIP Billing Number
Once you have your CPSO number, you’re ready to apply for your OHIP billing number. Applications are done through the Ministry of Health and Long-Term Care and it typically takes 4-6 weeks. Follow these 3 steps to make sure your application is submitted correctly:- Complete and sign the Application for ‘OHIP Billing Number for Health Professionals.’
- Attach/Scan a copy of a blank cheque with "VOID" written on it (to set up direct deposit).
- Attach a copy of a valid ‘Certificate of Registration’ with a governing body (this would be your CPSO # and registration information).
- By emailScan originals and send by email: MOH-L-SSU-Registration@msgov.gov.on.ca
- By faxFax originals to: 613-545-5848
- By mailMinistry of Health and Long-Term CareClaims Services BranchProvider Registry UnitP.O. Box 68Kingston, ON K7L 5T3
Once you're registered…
After 4-6 weeks you’ll receive a letter from the ministry with your OHIP number. This letter confirms your registration and will provide further details for the next steps – registering for GO Secure, Medical Claims Electronic Data Transfer (MC EDT) and Health Card Validation (HCV) services.3. Set up GO Secure, Enrol in MC EDT & Assign a Designee
Once your registration for your OHIP Billing number has been processed you’ll receive a letter containing your new billing number and the next steps - registering for GO Secure, Medical Claims Electronic Data Transfer (MC EDT) and Health Card Validation (HCV) services.Go Secure is the secure system that Ontario uses to transmit electronic files to OHIP. This is where you have access to the Medical Claims Electronic Data Transfer (MC EDT) system mentioned in Chapter 1 (that allows you to send and share data with the Ministry). You cannot bill in Ontario with setting up these two accounts.Add a Designee
We’re guessing that you don’t want to manually upload each claim, which means after you set up your Go Secure/MC EDT account, you need to designate a 3rd party software system that is authorized to upload and download claim files for you.***Time Saving tip:
You can set up your Go Secure account, enrol in MC EDT and designee your billing system all in one step. Follow along with these screenshots to set everything up at the same time!4. Register for Health Card Validation (HCV) Services
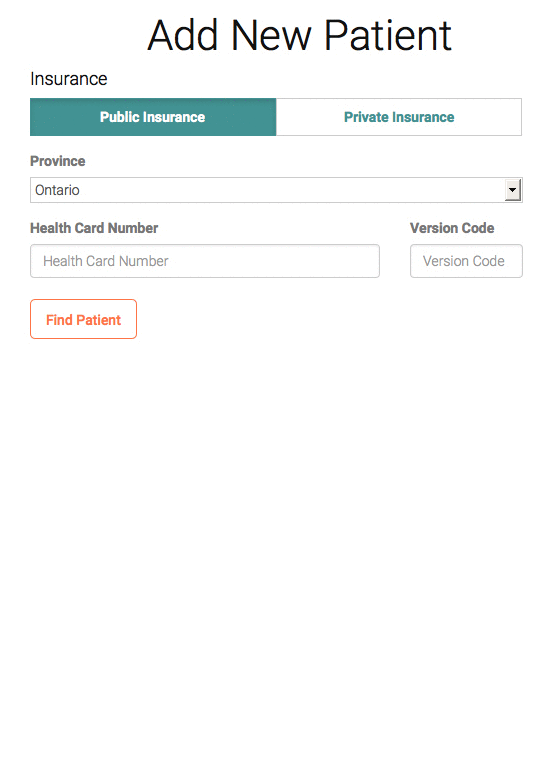 The Heath Card Validation service is a free healthcare validation system provided by the Ministry of Health and Long-Term Care (MOHLTC) that allows you (and healthcare organizations) to automatically check if a patient’s health card number is valid. You are enrolled in HCV when you receive your OHIP Billing number. Enrolment simply means you’re given a unique PIN which you can use to call their 1-800 line to verify if your patient’s health card is valid. Realistically though, calling a toll-free number every time you see a patient is very time consuming, which is why they integrate with 3rd party software programs. A 3rd party HCV software works when a health card’s magnetic card is swiped or typed in, the software then instantly checks your patient’s health card against OHIP’s records and verifies if they’re eligible. For example, at Dr. Bill anytime you add a new patient their information is instantly checked against OHIP’s records and verified. If they don’t have coverage, or it’s expired, we send you an instant alert.